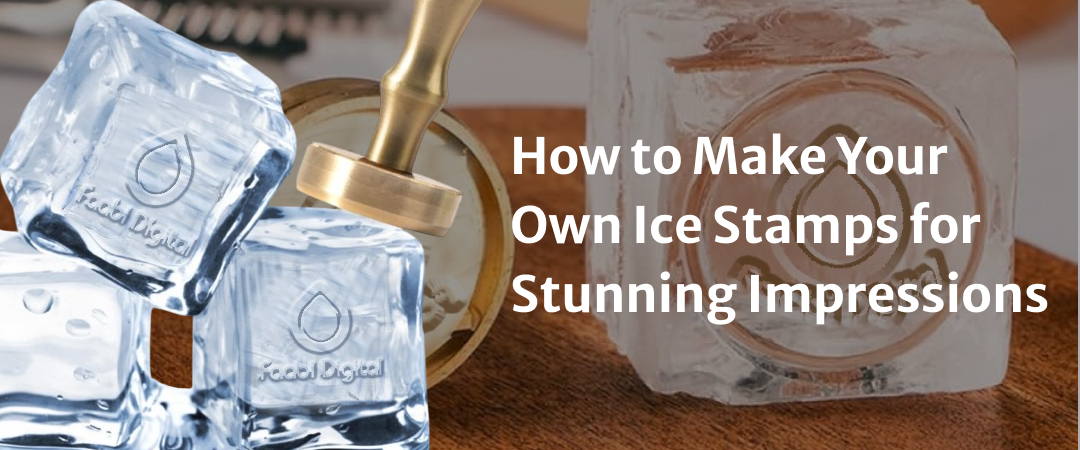
How to Make Your Own Ice Stamps for Stunning Impressions
Ice stamps are a fun and creative way to add unique textures and designs to various surfaces, from paper to fabric and even food. Whether you’re an artist, a crafter, or just looking for a cool DIY project, making your own ice stamps is easier than you think! In this guide, we’ll walk you through the simple steps to create stunning impressions using frozen designs.
What Are Ice Stamps?
Ice stamps are customized frozen molds used to create patterns and textures by pressing them onto different materials. They work well for fabric dyeing, painting techniques, and even decorating cakes or cocktails. The melting effect of ice stamps adds an organic, unpredictable touch to your artwork or decorations.
Materials You’ll Need
To make your own ice stamps, gather the following supplies:
- Water (distilled or tap)
- Ice cube trays or silicone molds (choose shapes that suit your design needs)
- Food coloring, ink, or paint (optional for adding color)
- Small objects or textured materials (such as lace, leaves, or carved stamps)
- Craft sticks or handles (for easy grip)
Step-by-Step Guide to Making Ice Stamps
Step 1: Prepare Your Mold
Choose an ice cube tray or silicone mold that fits your stamping purpose. Silicone molds work best because they allow for easy removal of the ice stamps once frozen.
Step 2: Add Textures or Designs
To create unique impressions, place textured materials (such as lace, leaves, or carved shapes) at the bottom of the mold. You can also press small stamps into the water before freezing to create embedded patterns.
Step 3: Pour the Water
Fill the mold with water, making sure to cover the textured materials completely. If you want colored ice stamps, mix in food coloring, watercolor, or ink before pouring the water.
Step 4: Insert Handles (Optional)
For easy handling, place craft sticks, skewers, or small plastic handles in the mold before freezing. This will help you grip the ice stamp comfortably when using it.
Step 5: Freeze Your Stamps
Place the mold in the freezer and let it sit for at least 4–6 hours, or until fully frozen.
Step 6: Remove and Use the Ice Stamps
Carefully remove the ice stamps from the mold. If they stick, let them sit at room temperature for a minute or run warm water over the back of the mold for easy release.
How to Use Ice Stamps for Stunning Impressions
1. Fabric & Paper Art
- Press your ice stamp onto fabric or watercolor paper for a unique bleeding effect.
- Experiment with different colors and textures for abstract designs.
2. Cake & Dessert Decoration
- Use food-safe ice stamps to create delicate patterns on frosting or chilled desserts.
- Infuse ice cubes with edible flowers for an artistic cocktail touch.
3. Wax & Clay Stamping
- Apply an ice stamp to soft wax or clay for a subtle, melting impression.
- This works great for candle making or pottery projects.
Tips for Perfect Ice Stamps
✔️ Use clear water (boil and cool it first) for crystal-clear ice stamps.
✔️ Experiment with different shapes and molds to create custom designs.
✔️ Let the ice melt slightly before stamping for a more fluid impression.
✔️ Store extra ice stamps in an airtight container to keep them fresh.
Final Thoughts
Making your own ice stamps is an exciting and innovative way to explore textures and patterns in your creative projects. Whether you’re crafting, decorating, or experimenting with unique art techniques, ice stamps provide a stunning and organic touch to your work. So, grab your supplies and start freezing your own beautiful stamps today!


